Every year, the Appalachian Sustainable Agriculture Project organizes the Family Farm Tour. For twenty-five bucks, you get access for the weekend to about forty farms and dairies around the region that are trying to practice sustainable agriculture. We've always been interested in the tour, and the kids were old enough this year, so we loaded up the van and hit the road.
Because of logistics and the vagaries of a child's attention span, we made it to about eight farms over the course of two days. This doesn't seem like much, but we really spent a lot of time at each farm, poking around, sampling the wares, and just enjoying the weather and some crucial family time.
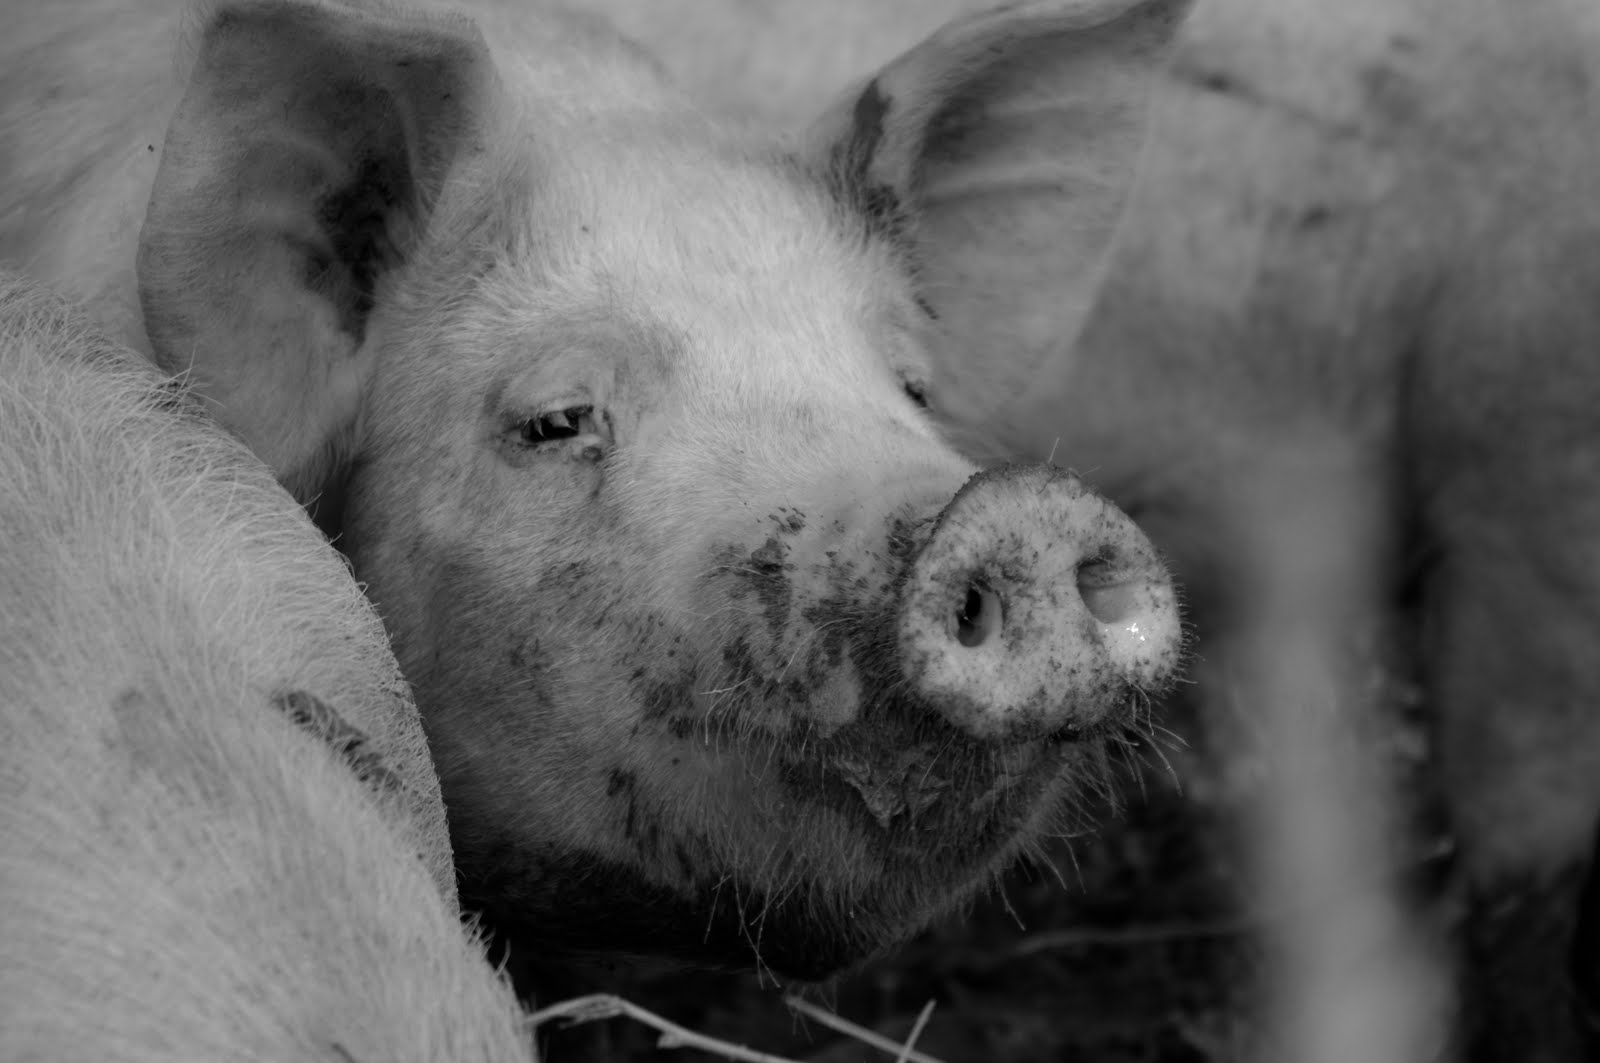
Above and below, some animals from Hickory Nut Gap Farm, one of our favorite places for fresh meat.
Spinning Spider Creamery had a very hands-on approach that the kids really enjoyed.
Farmhouse Meats had puddles, which the kids also enjoyed.
This is a great program that lets people get a better idea of where there food comes from, and also hints at the agricultural heritage here in the mountains. It's sad to see the old farms that are being lost to development, to new roads or WalMarts, and driving the back roads on the tour really drives that sadness home. I think the real lesson to be learned from the Family Farm Tour is just how precious this resource is, and how hard we should work to protect it.
Sunday, July 3, 2011
The Lily
This is a Yelloween lily that I planted back in the fall. I've always been fascinated with the myriad forms and colors available in the lily family, and something about this cultivar in particular really excites me. I took this photo one night, well after dark, using a flashlight for illumination and a very long exposure. The flashlight was creating these incredible trails of light that really contrasted with the clean lines of the flower. I sat there in the grass for an hour, being eaten alive by every esoteric insect in western North Carolina, but I finally got an image that I really liked.
Raised Beds, redux
So, this season, we added two more raised beds to our arsenal. I've changed the design a bit from last years model, and I think it works a lot better. These were all built from lumber from the big box home improvement place down the road, and filled with a mixture of cheap garden soil, Black Kow-brand manure and compost. I do want to note that this is regular lumber, not the pressure treated stuff. I'm willing to forgo some longevity in order to avoid the chemicals found in pressure treated lumber. Design-wise, I skipped the hinges this year and made a track to allow the door to slide in and out. This makes access easier and simplifies the construction quite a bit. I think I can slap one of these together in less than an hour now.
And that's the take in the old bed: Chard, kale, pak choy, carrots, wando peas, beets and radishes, and a few other things. It's an incredible thing to be able to grow your own food, to take the kids out to pull a pea off the vine and eat it, right there in the garden. It reconnects us to what's real, and what's important.
Pipe Planters
I found a long piece of steel culvert rusting away behind the house in a ditch. Four metal-cutting saw blades and 20-odd pieces of sandpaper later, we now have five spiffy new planters. These are the three in the yard just off the kitchen.It's a bit hard to see the middle planter there because of the plants, but it really is back there.
There's a pretty interesting variety of plants in there, especially considering the situation with the light. These guys all reside under an old Carolina Hemlock (Tsuga caroliniana), and on a pretty steep east-facing slope. Lots of morning sun, filtered afternoon light and basically dark from late afternoon on. Working with that, we put in some fennel and Bright Lights chard, an asparagus fern, some pansies and a lemon thyme. The chard has already gone to seed, and we also had some decorative cabbages in there that bolted as well. I replaced those plants with some Coral Bells heuchera and, most excitingly, some amaranth.
This is a gorgeous plant, also known as Love-Lies-Bleeding, that is absolutely thriving in less than ideal conditions. I picked up seeds for this and a green variety from Baker Creek Seeds, and I couldn't be happier. I'm already fantasizing about a whole hillside covered in amaranth, waving and rustling in the breeze...
There's a pretty interesting variety of plants in there, especially considering the situation with the light. These guys all reside under an old Carolina Hemlock (Tsuga caroliniana), and on a pretty steep east-facing slope. Lots of morning sun, filtered afternoon light and basically dark from late afternoon on. Working with that, we put in some fennel and Bright Lights chard, an asparagus fern, some pansies and a lemon thyme. The chard has already gone to seed, and we also had some decorative cabbages in there that bolted as well. I replaced those plants with some Coral Bells heuchera and, most excitingly, some amaranth.
This is a gorgeous plant, also known as Love-Lies-Bleeding, that is absolutely thriving in less than ideal conditions. I picked up seeds for this and a green variety from Baker Creek Seeds, and I couldn't be happier. I'm already fantasizing about a whole hillside covered in amaranth, waving and rustling in the breeze...
Friday, October 29, 2010
Filing box
So, no real ingenuity here, just a cool box re-purposed.

This is the Fira line of storage boxes from Ikea. I've done nothing to it, other than assemble it. I vaguely remember cursing.

Still, a very handy piece of kit. What's that inside, you say? Evidence of a man with a horrible addiction to pimentos? Nope. Seeds.

I discovered that pimento jars and certain brands of baby food jars fit in this thing like it was meant to be. So, in go the seeds with a handy label with a name and a date. I have bigger seed packets in the bottom drawer, and all my plant labeling supplies in the top right corner. Convenient and stylish.
p.s. I've just discovered that the Fira line was discontinued by Ikea earlier this year. Sad, really. Makes me want to decorate mine...

This is the Fira line of storage boxes from Ikea. I've done nothing to it, other than assemble it. I vaguely remember cursing.

Still, a very handy piece of kit. What's that inside, you say? Evidence of a man with a horrible addiction to pimentos? Nope. Seeds.

I discovered that pimento jars and certain brands of baby food jars fit in this thing like it was meant to be. So, in go the seeds with a handy label with a name and a date. I have bigger seed packets in the bottom drawer, and all my plant labeling supplies in the top right corner. Convenient and stylish.
p.s. I've just discovered that the Fira line was discontinued by Ikea earlier this year. Sad, really. Makes me want to decorate mine...
Square foot gardening
Back in the summer, I dug up some old barn wood and decided to make a raised bed for a square foot garden. I picked up some really cheap 1"x1" at the home improvement store to make the rails for the fencing. I don't really expect the fence cage to last for too long out in the elements, but the local rabbit population insisted that I come up with a temporary solution at the very least.

So that's it, basically. It's five feet long and three feet deep, which was just about right since we only have access from one side. I subdivided the box into fifteen squares, and my daughter and I went to planting.

It's pretty incredible how much produce we got from this little box. The vines growing up the back of the cage are peas, and I think we put in about 45 plants, of which maybe 30 grew well. I think we planted a little late in the season for peas, but the tendrils and flowers have been delicious. We also put in spinach, collard greens, turnips, beets, radishes, okra and carrots. Of those, the carrots and okra didn't work out. The carrots have beautiful greens, but no actual carrot at the end. The okra was probably the wrong choice for our climate. All in all, though, fantastic amount of vegetables for such a small area. With careful planting and some succession planting, I think we could do exponentially better next year.

So that's it, basically. It's five feet long and three feet deep, which was just about right since we only have access from one side. I subdivided the box into fifteen squares, and my daughter and I went to planting.

It's pretty incredible how much produce we got from this little box. The vines growing up the back of the cage are peas, and I think we put in about 45 plants, of which maybe 30 grew well. I think we planted a little late in the season for peas, but the tendrils and flowers have been delicious. We also put in spinach, collard greens, turnips, beets, radishes, okra and carrots. Of those, the carrots and okra didn't work out. The carrots have beautiful greens, but no actual carrot at the end. The okra was probably the wrong choice for our climate. All in all, though, fantastic amount of vegetables for such a small area. With careful planting and some succession planting, I think we could do exponentially better next year.
Pallet planter
I had access to a big stack of pallets, and I thought to myself, "Hey, let's make something!" My grandiose dreams of a free four bedroom house quickly dwindled when I found I could only fit four pallets in the back of my Subaru Outback. You know the saying: When life limits your cargo capacity, make something smaller. So, I present the pallet planter!

So, it's rustic... Which is fine. It's also sitting in a recessed area beside the house on a base of gravel. It's about three feet high and a foot deep. The top has a false bottom, so there's only about 18 inches of soil.

This particular planter took about two and a half pallets to make, although I had a small amount of broken slats that I couldn't use. If you decide to try one for yourself, look around for good pallets. Two of the ones I picked up were oak, which makes for a good, sturdy and nearly completely weatherproof box. Also, unbelievably hard to disassemble. The other two were pine, which is much easier to use but also much softer and less resistant to the elements. Most of the pine is on the back and inside, where it can be slightly protected.
Here's my two and a half year old for scale...

Once it was put together, I decided to make a little scene out of , although that's still a work in progress. Basic ingredients: Some rocks, a small hosta transplanted from somewhere else, lots of moss and a tiny little Japanese holly.


So, it's rustic... Which is fine. It's also sitting in a recessed area beside the house on a base of gravel. It's about three feet high and a foot deep. The top has a false bottom, so there's only about 18 inches of soil.

This particular planter took about two and a half pallets to make, although I had a small amount of broken slats that I couldn't use. If you decide to try one for yourself, look around for good pallets. Two of the ones I picked up were oak, which makes for a good, sturdy and nearly completely weatherproof box. Also, unbelievably hard to disassemble. The other two were pine, which is much easier to use but also much softer and less resistant to the elements. Most of the pine is on the back and inside, where it can be slightly protected.
Here's my two and a half year old for scale...

Once it was put together, I decided to make a little scene out of , although that's still a work in progress. Basic ingredients: Some rocks, a small hosta transplanted from somewhere else, lots of moss and a tiny little Japanese holly.


Subscribe to:
Posts (Atom)


